This page is applicable to NetConnect X 1.5 and above
Overview
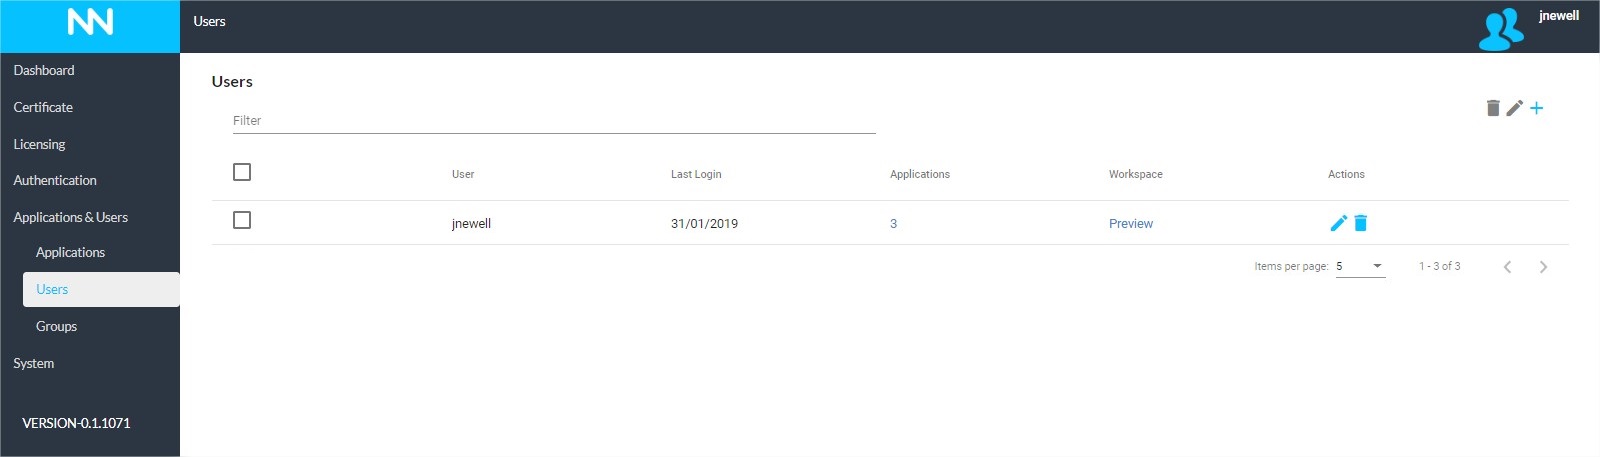
The Users page is where users associated with the NetConnect instance are viewed and managed. All licensed users are displayed here, along with detail on their last login time and quantity of applications assigned. Additionally, the page also provides the ability to preview the users workspace as well as an option to edit and delete local users. Finally, a search field is also available to locate specific applications quickly.
Assign an Application
The ‘Applications’ column displays the quantity of apps assigned to each user. If you click on this value, you will be presented with the ‘Assign Applications’ pop-up; from here, you can add or removed application to the user as required.
If you wish to assign all applications to the selected user, you can select the ‘Assign All’ option.
Create a Local User
Create User
To create a new user, click the ‘+’ create user icon in the upper right-hand side of the page. You will need to enter the username, password and then confirm the password. Once all three fields are populated, click ‘Create’ to complete the process. This user account will only be visible if your Local Authentication Stage is active.
Keep in mind, single sign on to applications will not be possible for local users unless usernames and passwords are identical to the destination application.
Next Steps…
Once your users have applications assigned, they can be tested. If testing an NCX application, we recommend reviewing the application authentication page to ensure authentication is configured correctly.